Crafting A Corking Christmas: Your Guide To A Stunning Wine Cork Christmas Tree (2024)
Crafting a Corking Christmas: Your Guide to a Stunning Wine Cork Christmas Tree (2024)
Crafting a Corking Christmas: Your Guide to a Stunning Wine Cork Christmas Tree (2024)
Introduction
With enthusiasm, let’s navigate through the intriguing topic related to Crafting a Corking Christmas: Your Guide to a Stunning Wine Cork Christmas Tree (2024). Let’s weave interesting information and offer fresh perspectives to the readers.
Table of Content

Crafting a Corking Christmas: Your Guide to a Stunning Wine Cork Christmas Tree (2024)
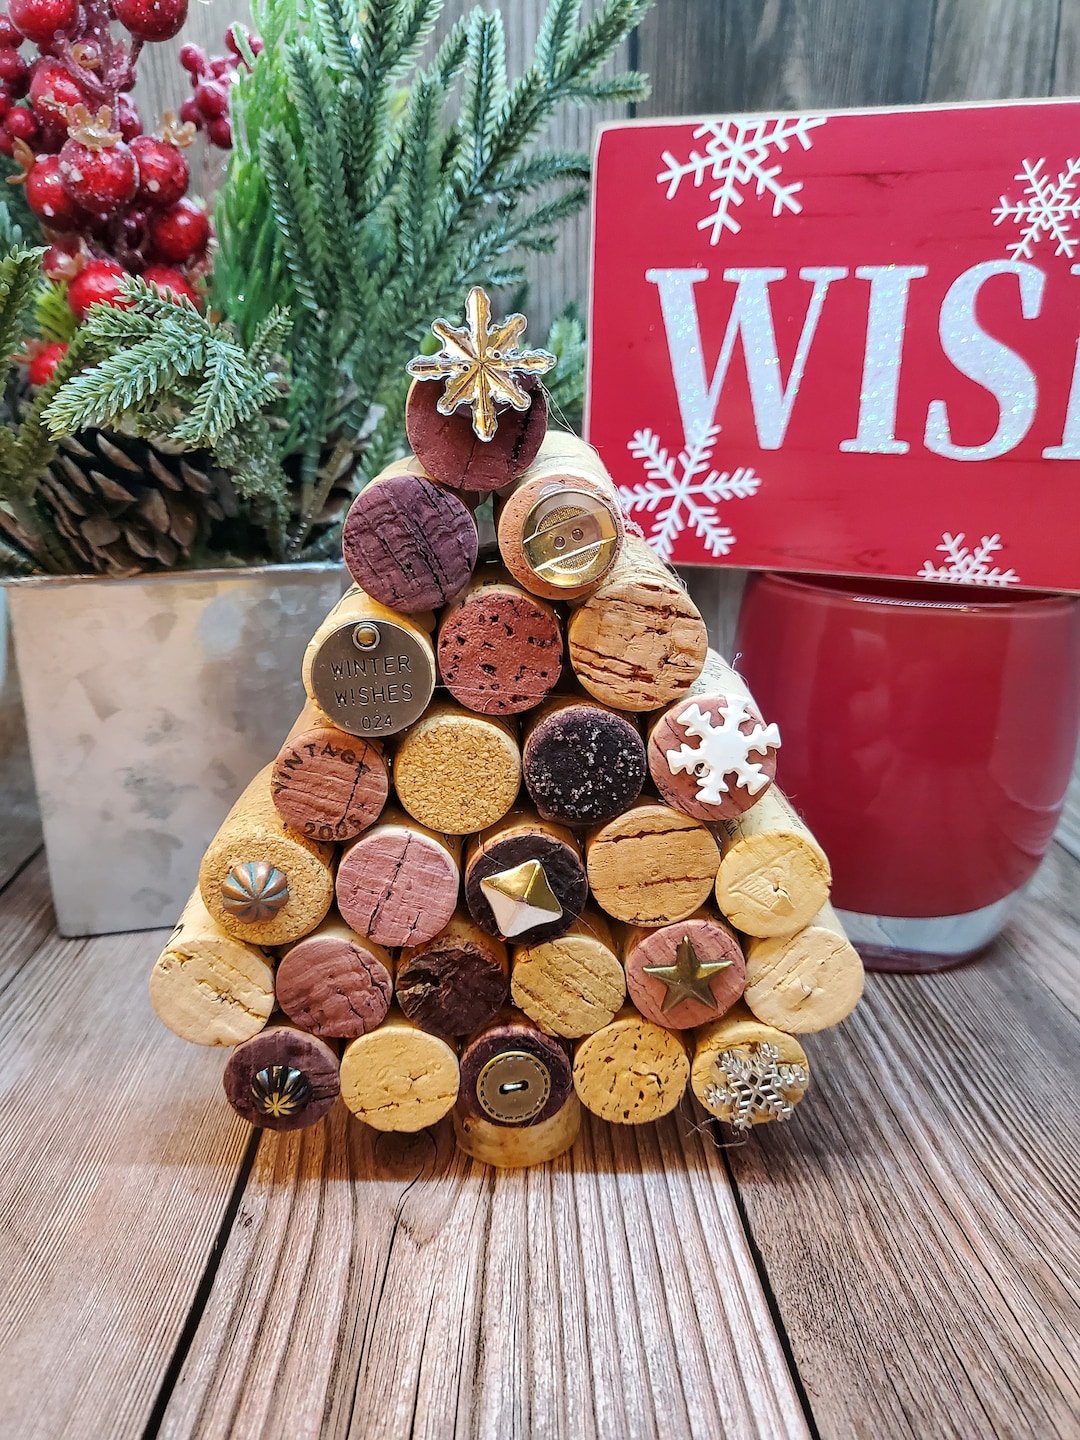
The holidays are fast approaching, and the hunt for unique and eco-friendly decorations is on! This year, ditch the mass-produced plastic and embrace the charm of a handcrafted wine cork Christmas tree. Not only is this project a fun and rewarding activity for the whole family, but it also offers a sustainable way to celebrate the season, repurposing materials you likely already have on hand. This comprehensive guide will walk you through every step, from gathering your supplies to adding the final festive touches, ensuring your 2024 Christmas tree is a true masterpiece.
Part 1: Gathering Your Supplies & Planning Your Design
Before you dive into the crafting, meticulous planning is key to a successful wine cork Christmas tree. This isn’t just about collecting corks; it’s about envisioning your final product and gathering the necessary materials to bring that vision to life.
1.1 The Cork Collection:
The foundation of your tree is, naturally, wine corks. Start collecting now! Ask friends, family, and local restaurants to save their corks for you. Aim for a substantial collection – the number needed will depend on the size of your desired tree. A small tabletop tree might require 100-200 corks, while a larger floor-standing tree could need upwards of 500 or more. Remember to clean your corks thoroughly before storing them. A quick wash with soapy water and a thorough rinse will suffice. Allow them to dry completely before storing them in a dry, well-ventilated area to prevent mold.
1.2 Essential Crafting Materials:
- Strong Adhesive: Hot glue is ideal for its quick drying time and strong bond. Ensure you have enough glue sticks to complete the project without interruption. Alternatively, a strong craft glue might work, but it will require more drying time.
- Base: The base will support your entire tree. Consider using a sturdy piece of wood, a sturdy cardboard cone, or even a repurposed flower pot. The size of your base will determine the overall size of your tree. For a small tree, a 6-inch diameter base is sufficient; for a larger tree, you might need a 12-inch or even larger base.
-
Decorative Elements: Let your creativity shine here! Think about the overall style of your tree. Will it be rustic and natural, glamorous and glittery, or something in between? Consider these options:
- Miniature Ornaments: Small, lightweight ornaments are perfect for adding festive flair.
- Twine or Ribbon: Use twine or ribbon to wrap around the tree for added texture and visual appeal.
- Beads and Sequins: Glue beads and sequins onto the corks for extra sparkle.
- Pine Cones and Berries: Incorporate natural elements for a rustic touch.
- Paint: Acrylic paints can be used to personalize your corks. You can paint them different colors, create patterns, or even add festive designs.
- Scissors/Craft Knife: For trimming any excess materials or shaping elements.
- Measuring Tape/Ruler: For accurately measuring your base and planning the arrangement of corks.
- Pencil: For marking your base and planning the cork placement.
- Sandpaper (optional): For smoothing any rough edges on your base or corks.
Part 2: Building the Foundation – Constructing the Tree Structure
Now that you have your materials assembled, it’s time to build the structure of your wine cork Christmas tree. This is where patience and precision will pay off.
2.1 Preparing the Base:
If using wood or cardboard, ensure your base is stable and level. If using a cone, make sure it’s sturdy enough to support the weight of the corks. Sand any rough edges to prevent snags. If painting your base, do this before attaching the corks.
2.2 Laying the First Layer:
Start by gluing the first layer of corks around the base, creating a circular foundation. Space the corks evenly to create a stable base for the subsequent layers. Use a sufficient amount of hot glue to ensure a strong bond. Allow the glue to dry completely before moving on to the next layer.
2.3 Building Up the Layers:
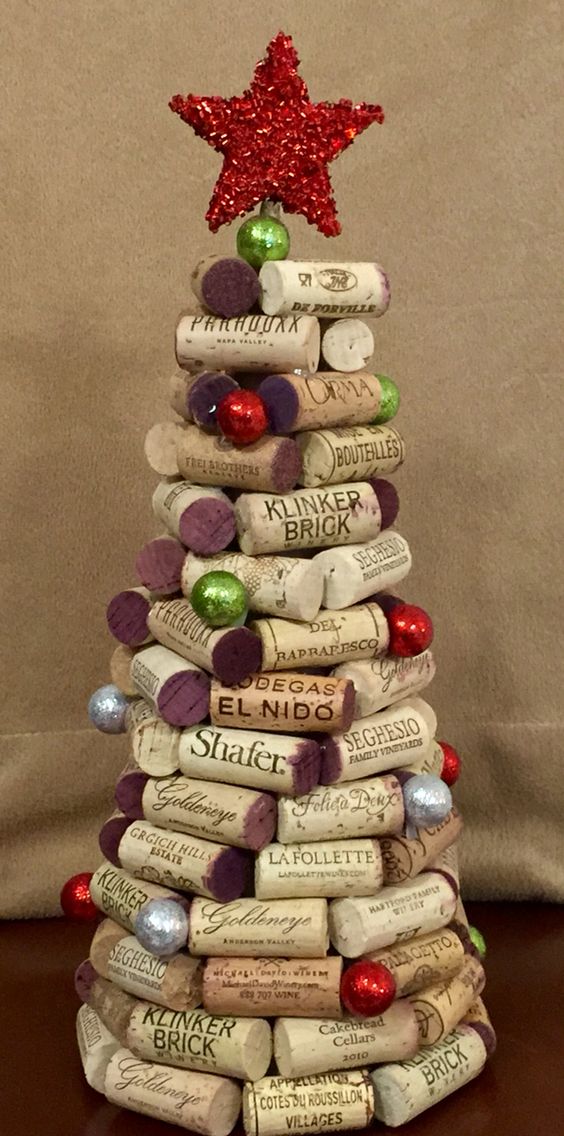
Continue adding layers of corks, gradually decreasing the number of corks in each layer as you move upwards. This will create the characteristic conical shape of a Christmas tree. Ensure each layer is securely glued to the previous one. Maintain even spacing between the corks for a neat and polished look. You can use a pencil to lightly mark the base to help guide the placement of your corks.
2.4 Shaping the Tree:
As you build, regularly check the shape of your tree. Make adjustments as needed to ensure it’s symmetrical and maintains its conical form. If you find any gaps, you can fill them with smaller pieces of cork or carefully adjust the existing corks.
Part 3: Decorating Your Corking Creation
Once the structure is complete, the fun part begins: decorating your wine cork Christmas tree! Let your imagination run wild and create a tree that reflects your personal style and festive spirit.
3.1 Adding Festive Flair:
Consider the overall theme you want to achieve. A rustic theme might incorporate natural elements like pine cones and berries, while a modern theme might utilize metallic accents and sleek ornaments.
3.2 Strategically Placing Ornaments:
Begin by placing your larger ornaments first, strategically distributing them around the tree. Then, fill in the gaps with smaller ornaments, beads, sequins, or other decorative elements. Avoid overcrowding the tree; allow some space between the ornaments to prevent a cluttered look.
3.3 Using Twine or Ribbon:
Wrap twine or ribbon around the tree to add texture and visual interest. You can create patterns or simply wrap it loosely around the tree. Consider using different colors and textures of twine or ribbon to create a more dynamic look.
3.4 Adding a Star or Tree Topper:
Complete your tree with a festive star or tree topper. You can use a small star-shaped ornament, a handcrafted star made from twigs, or even a repurposed bottle cap.
3.5 Personal Touches:
Consider adding personal touches to your tree. You could include photos of loved ones, small handwritten messages, or other mementos that hold special meaning. This will make your tree even more unique and sentimental.
Part 4: Finishing Touches and Displaying Your Masterpiece
The final steps involve adding those finishing touches that elevate your wine cork Christmas tree from good to great.
4.1 Inspecting for Imperfections:
Carefully inspect your tree for any loose corks or uneven areas. Apply additional glue where needed to ensure stability. Allow the glue to dry completely before moving on.
4.2 Adding a Protective Coat (Optional):
For added durability and protection, consider applying a clear sealant to your tree. This will protect it from dust and moisture and help preserve its appearance for years to come.
4.3 Displaying Your Tree:
Find a prominent spot in your home to display your beautiful wine cork Christmas tree. It can be placed on a mantelpiece, a tabletop, or even on the floor, depending on its size. Add some fairy lights for extra sparkle and magic.
Conclusion:
Creating a wine cork Christmas tree is a rewarding and eco-friendly way to celebrate the holiday season. By following this guide, you can create a stunning and unique centerpiece for your home that will be admired by all. Embrace the process, let your creativity flow, and enjoy the satisfaction of crafting a truly one-of-a-kind Christmas tree that reflects your personal style and commitment to sustainability. Happy crafting, and Merry Christmas!


Closure
Thus, we hope this article has provided valuable insights into Crafting a Corking Christmas: Your Guide to a Stunning Wine Cork Christmas Tree (2024). We hope you find this article informative and beneficial. See you in our next article!