Deck The Halls With DIY PVC: Your 2024 Guide To A Unique Christmas Tree
Deck the Halls with DIY PVC: Your 2024 Guide to a Unique Christmas Tree
Deck the Halls with DIY PVC: Your 2024 Guide to a Unique Christmas Tree
Introduction
With enthusiasm, let’s navigate through the intriguing topic related to Deck the Halls with DIY PVC: Your 2024 Guide to a Unique Christmas Tree. Let’s weave interesting information and offer fresh perspectives to the readers.
Table of Content
Deck the Halls with DIY PVC: Your 2024 Guide to a Unique Christmas Tree
Forget the towering, pre-lit artificial tree and embrace the charm of a truly unique Christmas centerpiece: a DIY PVC Christmas tree. This 2024, ditch the traditional and craft a festive statement piece that’s both budget-friendly and incredibly customizable. This comprehensive guide will walk you through every step, from initial planning and material selection to decorating and long-term storage, ensuring your PVC Christmas tree becomes a cherished holiday tradition for years to come.
Part 1: Planning Your PVC Paradise
Before diving into the world of PVC pipes and fittings, careful planning is crucial. This stage will determine the final look and functionality of your tree.
1.1 Defining Your Tree’s Dimensions:
The size of your tree dictates the amount of materials needed. Consider the available space in your home. A smaller tree (3-4 feet tall) is perfect for apartments or smaller rooms, while a larger tree (6-8 feet tall) can make a bold statement in a spacious living area. Measure your space carefully, leaving sufficient room for decorating and maneuvering around the tree. Remember to factor in the base’s footprint.
1.2 Choosing Your PVC Pipe Type and Color:
Standard schedule 40 PVC pipe is readily available and affordable. However, you can explore other options like schedule 80 for added durability, or even colored PVC pipes for a more unique aesthetic. Consider these factors:
- Diameter: The diameter of your pipes will influence the overall look of your tree. Thicker pipes create a fuller, more robust tree, while thinner pipes offer a more delicate appearance.
- Color: White PVC is the most common choice, offering a blank canvas for creative decoration. However, green PVC pipes can provide a more realistic tree-like appearance, while other colors offer a truly unique and modern touch.
1.3 Designing Your Tree Structure:
This is where your creativity shines. You can opt for a classic conical shape, a more modern flat-topped design, or even experiment with asymmetrical shapes. Sketch your design on paper, noting the number and length of pipes required for each level. Consider using different pipe diameters for each level to create a more natural taper. You might also incorporate different angles to add visual interest.
1.4 Gathering Your Tools and Materials:
Once your design is finalized, gather the necessary materials:
- PVC pipes: Calculate the exact length and quantity based on your design. Remember to account for cuts and potential errors.
- PVC connectors: Elbows, tees, and straight connectors are essential for assembling the tree’s branches. Choose connectors that match your pipe diameter.
- PVC primer and cement: These are crucial for creating strong, leak-proof joints.
- Measuring tape and marker: For accurate measurements and marking cut lines.
- PVC pipe cutter: A hand-held cutter or miter saw will ensure clean, precise cuts.
- Safety glasses and gloves: Always prioritize safety when working with PVC and tools.
- Drill and drill bits (optional): For adding holes for lights or other decorations.
- Sandpaper (optional): To smooth any rough edges after cutting.
- Base: A sturdy base is essential for stability. This could be a heavy-duty planter, a wooden platform, or even a repurposed bucket filled with sand or concrete.
Part 2: Constructing Your PVC Masterpiece
Now comes the fun part: building your tree!
2.1 Cutting the Pipes:
Using your measurements and markings, carefully cut the PVC pipes to the desired lengths. Ensure your cuts are clean and straight for optimal connections.
2.2 Assembling the Branches:
Start by assembling the bottom layer of branches, connecting the pipes with the appropriate connectors. Work your way up, layer by layer, following your design. Ensure each joint is secure and properly cemented. Allow sufficient drying time for the cement to fully cure.
2.3 Building the Trunk:
Create the central trunk using longer PVC pipes and connectors. This should be sturdy enough to support the weight of the branches and decorations. Securely attach the base to the trunk.
2.4 Ensuring Stability:
Once assembled, carefully check the stability of your tree. If necessary, add extra support or adjust the base to ensure it doesn’t wobble. A weighted base is highly recommended, especially for taller trees.
Part 3: Decorating Your PVC Christmas Tree
With your PVC tree structure complete, it’s time to unleash your creativity and decorate!
3.1 Choosing Your Decorations:
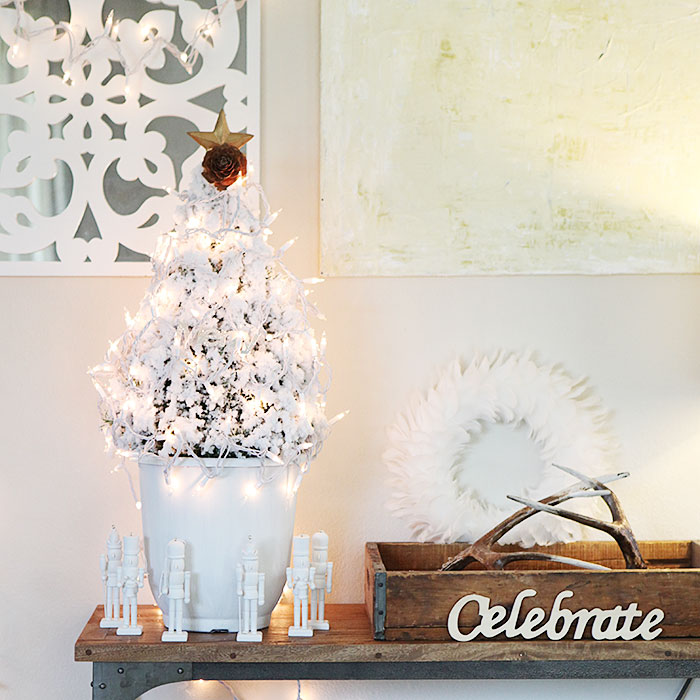
The beauty of a DIY PVC tree lies in its adaptability. You can use traditional Christmas ornaments, fairy lights, ribbons, garland, and more. Consider these options:
- Ornaments: Hang traditional glass ornaments, rustic wooden ornaments, or even handmade decorations.
- Lights: String lights add warmth and ambiance. Consider using battery-operated lights for convenience.
- Garland: Use beaded garland, tinsel, or even create your own garland from natural materials like pine cones and berries.
- Ribbons: Add pops of color and texture with ribbons wrapped around the branches.
- Unique Decorations: Get creative! Use miniature figurines, painted PVC ornaments, or even repurposed items to add a personal touch.
3.2 Decorating Techniques:
Experiment with different decorating techniques to achieve your desired look. Consider layering your decorations, starting with lights, then adding garland, and finally hanging ornaments. Don’t be afraid to mix and match different styles and colors.
3.3 Adding a Tree Topper:
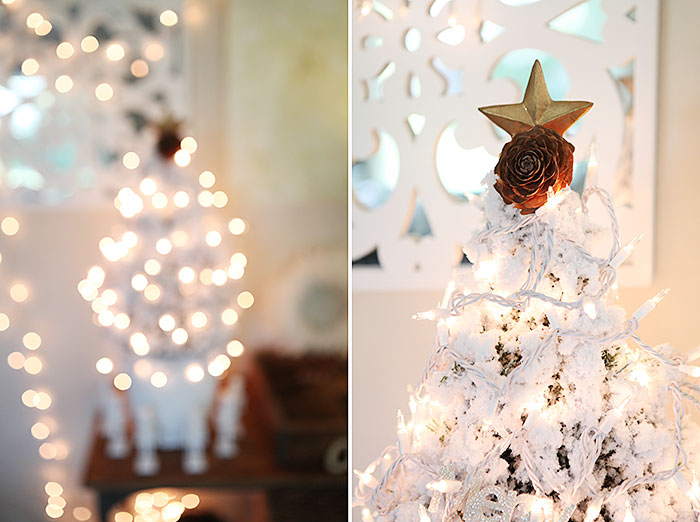
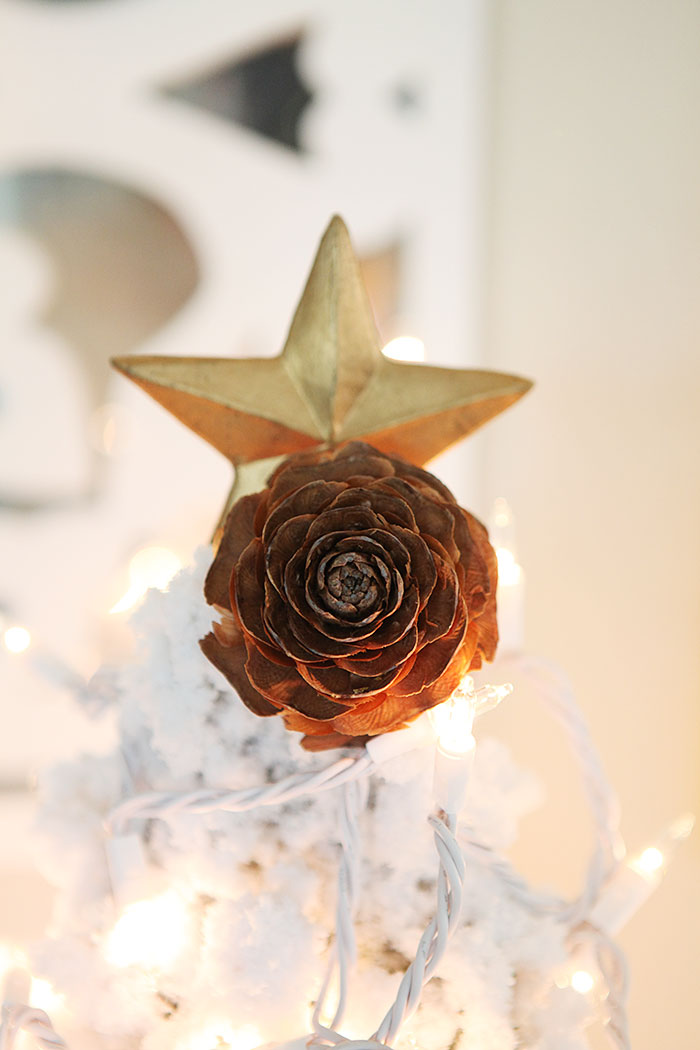
A stunning tree topper completes the look. Choose a topper that complements your decorating style, whether it’s a classic star, a whimsical angel, or a unique handmade creation.
Part 4: Storage and Maintenance
Your DIY PVC Christmas tree is a long-term investment. Proper storage and maintenance will ensure it lasts for many holiday seasons.
4.1 Disassembling the Tree:
Carefully disassemble your tree after the holidays. Label each piece clearly to make reassembly easier next year.
4.2 Cleaning the Tree:
Gently wipe down the PVC pipes and connectors with a damp cloth to remove any dust or debris.
4.3 Storage:
Store your disassembled tree in a cool, dry place, protected from moisture and extreme temperatures. Consider using protective covers or padding to prevent scratches and damage.
Part 5: Beyond the Basics: Advanced Techniques
For those seeking more advanced projects, consider these enhancements:
- Faux Foliage: Wrap the PVC pipes with artificial foliage for a more realistic tree appearance.
- Custom Paint Jobs: Paint the PVC pipes in various shades of green, white, or even metallic colors for a unique look.
- Integrated Lighting: Drill holes in the PVC pipes and carefully insert LED lights for a more integrated and professional look.
- Different Tree Shapes: Experiment with unconventional tree shapes, such as spirals or geometric designs.
Creating a DIY PVC Christmas tree is a rewarding experience that allows for unparalleled creativity and personalization. By following this comprehensive guide, you can craft a stunning and unique holiday centerpiece that will be the envy of your friends and family for years to come. So, embrace your inner DIY enthusiast, gather your materials, and get ready to deck the halls with your own one-of-a-kind PVC Christmas tree in 2024!

Closure
Thus, we hope this article has provided valuable insights into Deck the Halls with DIY PVC: Your 2024 Guide to a Unique Christmas Tree. We hope you find this article informative and beneficial. See you in our next article!