Felted Christmas Ornaments 2024: A Guide To Crafting Cozy, Unique Decorations
Felted Christmas Ornaments 2024: A Guide to Crafting Cozy, Unique Decorations
Felted Christmas Ornaments 2024: A Guide to Crafting Cozy, Unique Decorations
Introduction
With enthusiasm, let’s navigate through the intriguing topic related to Felted Christmas Ornaments 2024: A Guide to Crafting Cozy, Unique Decorations. Let’s weave interesting information and offer fresh perspectives to the readers.
Table of Content
Felted Christmas Ornaments 2024: A Guide to Crafting Cozy, Unique Decorations
Christmas 2024 is fast approaching, and what better way to celebrate than by crafting your own unique and charming decorations? Felting offers a wonderfully tactile and rewarding way to create beautiful, lasting Christmas ornaments. This comprehensive guide will walk you through the process, from choosing your materials to adding those special finishing touches that will make your ornaments truly shine.
Part 1: Gathering Your Supplies & Choosing Your Design
Before you begin your felting journey, gather the necessary materials. The beauty of felting is its flexibility – you can adapt techniques and materials to achieve various styles and effects.
Essential Materials:
- Wool roving: This is the heart of your project. Wool roving is carded wool that’s been prepared for felting. You can find it in a vast array of colours, textures, and thicknesses. For ornaments, merino wool is a popular choice due to its softness and felting properties. Consider purchasing several colours to create vibrant and multi-textured ornaments.
- Soap: Liquid soap is crucial for the felting process. A mild dish soap works well, but you can also find specialized felting soaps designed to enhance the felting process.
- Hot water: You’ll need a bowl or basin of hot, but not boiling, water. The temperature is key; too hot and the wool may felt too quickly, too cold and it won’t felt properly.
- Mesh or nylon fabric: This acts as a support during the felting process, preventing the wool from becoming too misshapen. A fine-mesh laundry bag works perfectly.
- Needle felting tools (optional): If you want to add details or embellishments, needle felting tools are invaluable. These allow you to add texture, create designs, and attach smaller pieces of wool.
- Embellishments (optional): Let your creativity flow! Consider adding buttons, beads, sequins, ribbons, small charms, or dried flowers to personalize your ornaments.
- Scissors: For trimming excess wool.
- Towels: For drying your felted ornaments.
Choosing Your Design:
The possibilities are endless! Here are a few ideas to get you started:
- Simple Balls: These are a great starting point for beginners. Simply roll small amounts of wool roving into balls, felt them, and then add embellishments.
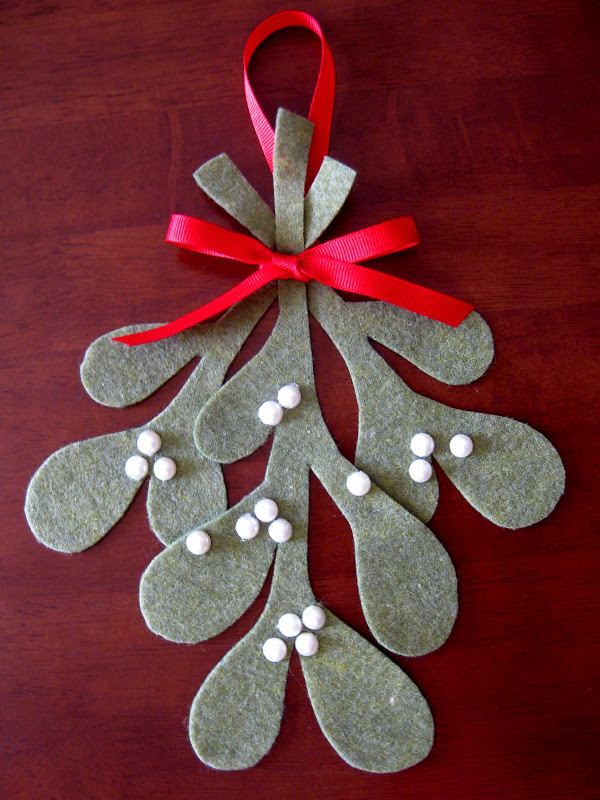
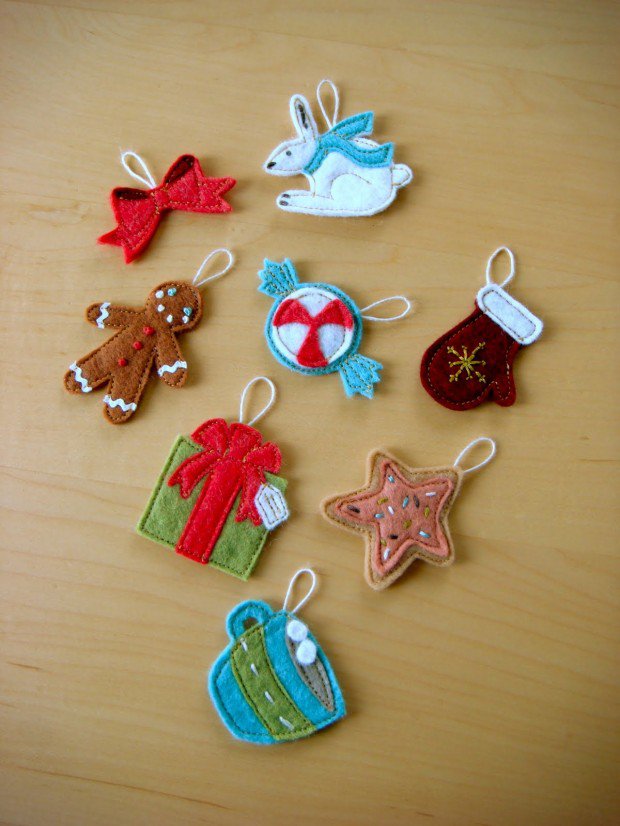
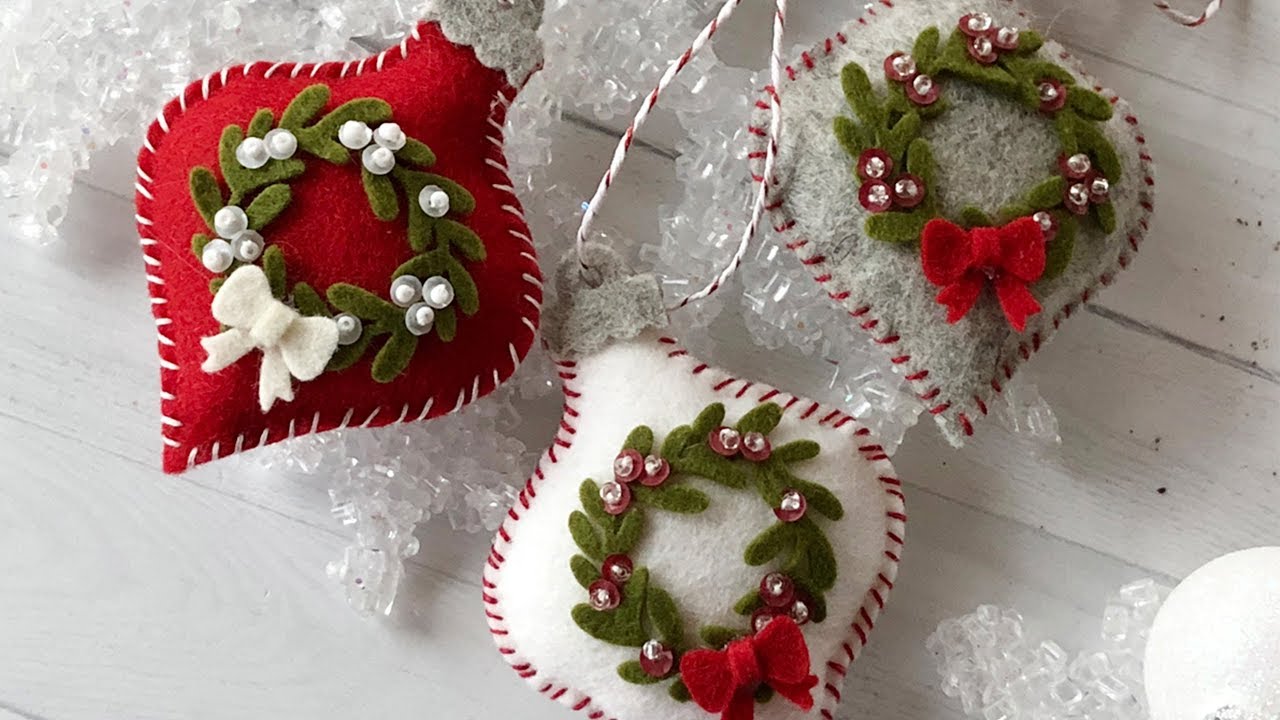
- Christmas Shapes: Create classic shapes like stars, trees, snowflakes, or bells. You can use templates to help you shape the wool before felting.
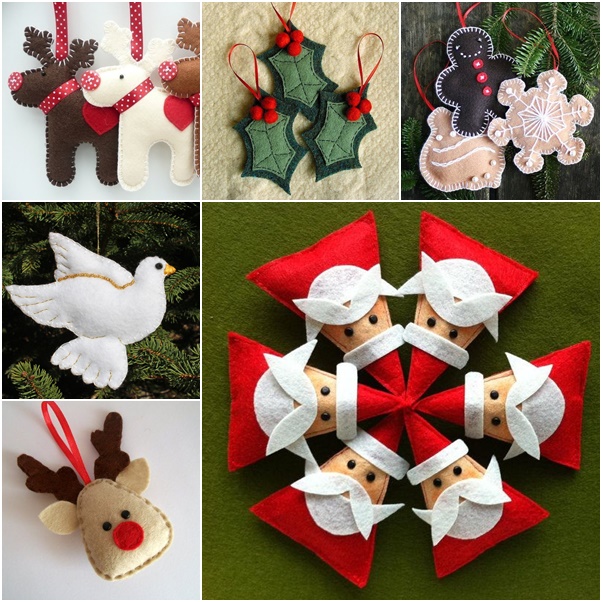
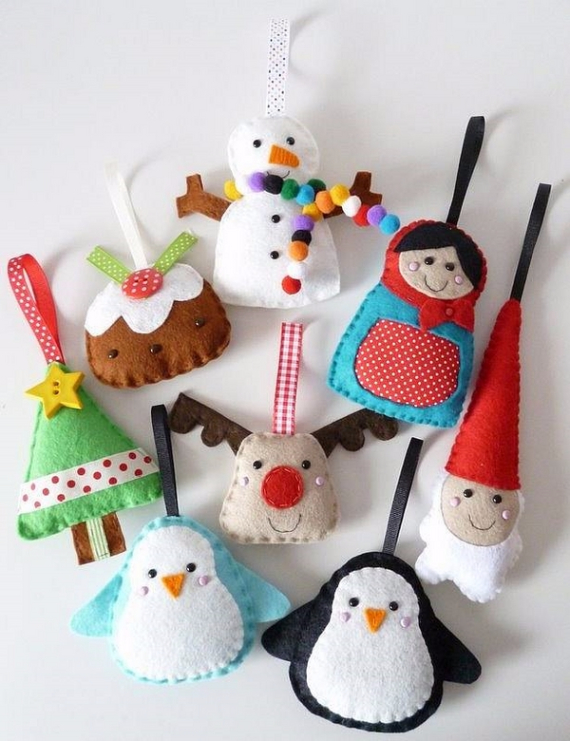
- Animals: Felt adorable reindeer, snowmen, penguins, or other festive animals. Needle felting is particularly useful for adding details like eyes and noses.
- Abstract Designs: Experiment with different colours and textures to create unique abstract ornaments.
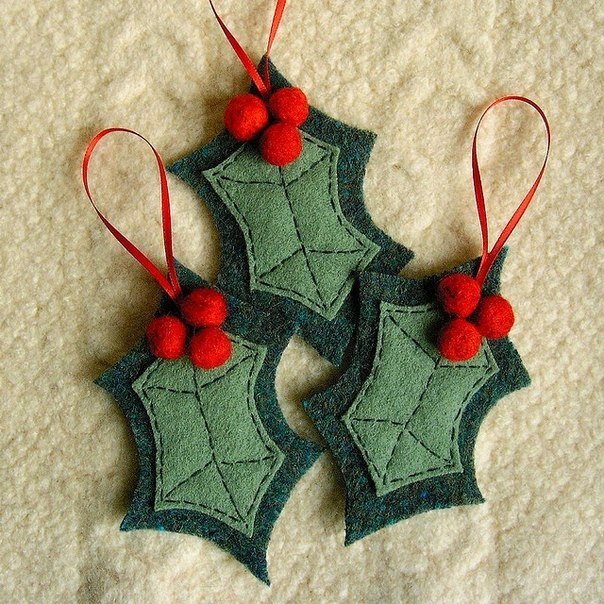
- Nature-Inspired: Create ornaments resembling pine cones, acorns, or berries.
Part 2: The Felting Process
Now for the fun part! Here’s a step-by-step guide to the wet felting process:
- Prepare the Wool: Start by pulling small pieces of wool roving from your chosen colours. Aim for a consistent thickness and avoid pulling out large, uneven strands.
- Layering the Wool: Place a layer of wool roving on your mesh or nylon fabric. Overlap the pieces slightly to avoid gaps. Continue layering, alternating colours if desired, until you achieve the desired thickness and shape of your ornament. Remember to consider the shrinkage that will occur during the felting process.
- Rolling and Shaping: Gently roll the wool into your desired shape. If you’re creating a specific shape, use your hands to mold the wool carefully.
- Soap and Water: Submerge the wool in your bowl of hot, soapy water. Make sure the wool is fully saturated.
- Felting: Begin gently rolling and manipulating the wool within the water. Continue for 15-20 minutes, or until the wool fibers start to felt together and the piece feels firm. You can increase the pressure gradually as the wool felts.
- Rinse and Dry: Rinse the felted ornament thoroughly under cool running water until all the soap is removed. Gently squeeze out excess water, avoiding harsh squeezing that may distort the shape. Wrap the ornament in a towel to absorb excess moisture. Allow it to air dry completely, away from direct sunlight or heat.
Part 3: Adding Finishing Touches and Embellishments
Once your ornament is completely dry, you can add your finishing touches:
- Needle Felting: If you’re using needle felting tools, you can add intricate details, create textures, or attach smaller pieces of wool to your ornament.
- Embellishments: Sew on buttons, beads, sequins, or other small embellishments. You can also glue on dried flowers or small charms, ensuring the adhesive is suitable for wool.
- Ribbons and Hangers: Attach a ribbon or twine loop to the top of your ornament for hanging. You can sew this on, glue it, or use needle felting to secure it.
- Finishing Touches: Consider adding a final layer of clear sealant to protect your ornament and enhance its vibrancy.
Part 4: Advanced Felting Techniques and Ideas
For those looking to expand their felting skills, here are some advanced techniques and ideas:
- Nuno Felting: This technique involves felting wool onto a fabric base, creating a lightweight and drapey ornament.
- Wet Felting with Resist: Use stencils or other objects to create patterns and shapes within your felted ornament.
- 3D Felting: Create more complex shapes and figures by carefully layering and felting wool in three dimensions.
- Combining Techniques: Experiment by combining wet felting with needle felting to achieve a unique look.
Part 5: Inspiration and Design Ideas for 2024
The Christmas 2024 season could see a resurgence of vintage-inspired designs, incorporating muted tones and natural elements. Consider these ideas:
- Nordic Inspired Ornaments: Use natural wool colours like cream, beige, and grey, incorporating simple geometric patterns and textures.
- Rustic Charm: Create ornaments that evoke a rustic, farmhouse feel, using natural materials like twigs, berries, and twine.
- Modern Minimalism: Embrace clean lines and simple shapes, using a limited colour palette for a sophisticated look.
- Bold and Bright: For a more vibrant look, use a mix of bright, saturated colours to create cheerful and eye-catching ornaments.
Conclusion:
Creating felted Christmas ornaments is a fun, creative, and rewarding experience. With a little patience and practice, you can craft beautiful and unique decorations that will add a personal touch to your Christmas tree and home. Experiment with different colours, textures, and techniques to discover your own unique style and create ornaments that reflect your personality and celebrate the joy of the season. So gather your supplies, let your imagination run wild, and happy felting! Remember to always prioritize safety when working with hot water and sharp tools. Enjoy the process and the beautiful results!
:max_bytes(150000):strip_icc()/2Holidaythemed-ef02e52fa0c24afa9ddc0380578338e5.jpg)


Closure
Thus, we hope this article has provided valuable insights into Felted Christmas Ornaments 2024: A Guide to Crafting Cozy, Unique Decorations. We hope you find this article informative and beneficial. See you in our next article!