Illuminating The Holidays: A Comprehensive Guide To Photographing Christmas Lights In 2024
Illuminating the Holidays: A Comprehensive Guide to Photographing Christmas Lights in 2024
Illuminating the Holidays: A Comprehensive Guide to Photographing Christmas Lights in 2024
Introduction
With great pleasure, we will explore the intriguing topic related to Illuminating the Holidays: A Comprehensive Guide to Photographing Christmas Lights in 2024. Let’s weave interesting information and offer fresh perspectives to the readers.
Table of Content
Illuminating the Holidays: A Comprehensive Guide to Photographing Christmas Lights in 2024
Christmas lights: twinkling beacons of festive cheer, transforming ordinary streets and homes into magical winter wonderlands. Capturing their brilliance in photographs, however, requires more than just pointing and shooting. This comprehensive guide will equip you with the knowledge and techniques to create stunning images of Christmas lights in 2024, whether you’re a seasoned photographer or just starting out.
I. Planning Your Shoot: Setting the Stage for Success
Before you even pick up your camera, meticulous planning is crucial for capturing breathtaking Christmas light photos. Consider these key aspects:
-
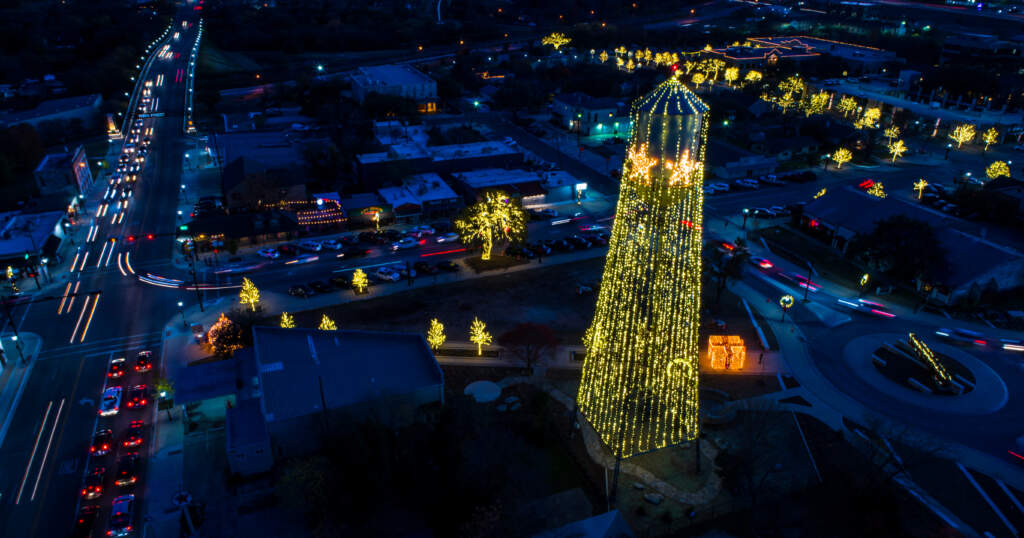
Location Scouting: The best photos often come from thoughtful location scouting. Drive around your neighborhood, or explore local areas known for their elaborate light displays. Look for interesting compositions, considering elements like architecture, trees, and reflections. Consider the time of day – the "blue hour" (the period just after sunset and before sunrise) can offer a magical, atmospheric backdrop.
-
Time of Day and Weather: The golden hour (the hour after sunrise and before sunset) and the blue hour provide softer, warmer light that complements the festive glow of Christmas lights. However, bright, clear nights can also produce stunning results. Be mindful of weather conditions. Overcast skies can diffuse harsh light, while rain or snow can add a unique, atmospheric element (though protecting your equipment is essential).
-
Composition and Framing: Think about your composition. The rule of thirds, leading lines (such as streets or pathways), and negative space can all significantly improve your photos. Experiment with different angles – get low to the ground, climb a ladder for a high vantage point, or use a reflection in a puddle or window to add depth and interest.
-
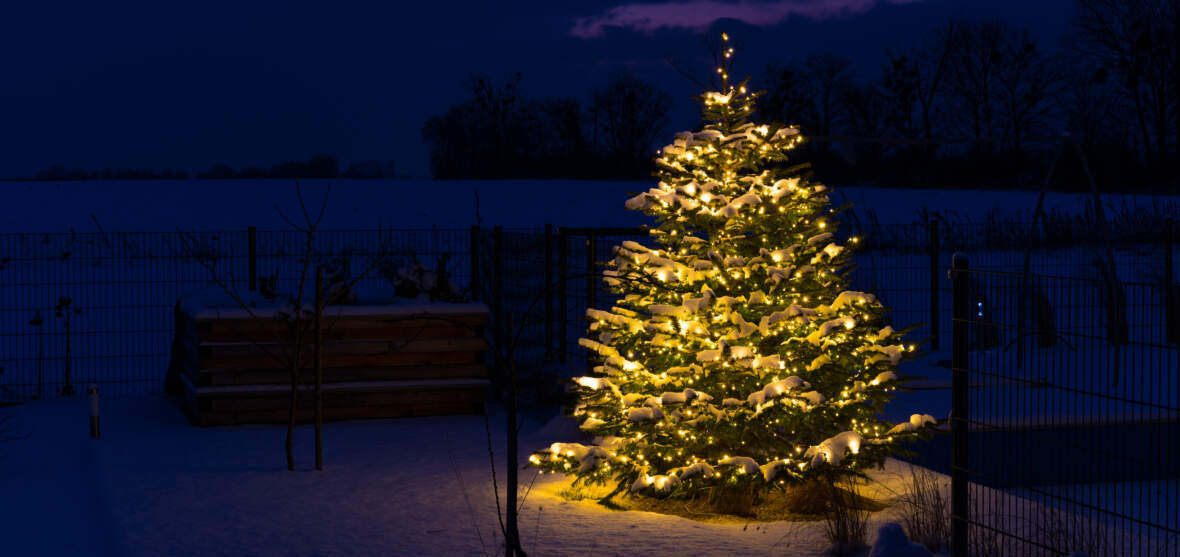
Subject Selection: While capturing the overall scene is important, consider focusing on specific details. A close-up shot of a beautifully decorated tree, a whimsical light sculpture, or the reflection of lights in a window can create powerful and evocative images.
-
Equipment Check: Before heading out, ensure your camera battery is fully charged, your memory card has sufficient space, and your equipment is clean and functioning correctly. Consider bringing extra batteries and a lens cleaning kit.
II. Mastering the Technical Aspects: Camera Settings and Techniques
Photographing Christmas lights effectively requires understanding and manipulating several camera settings:
-
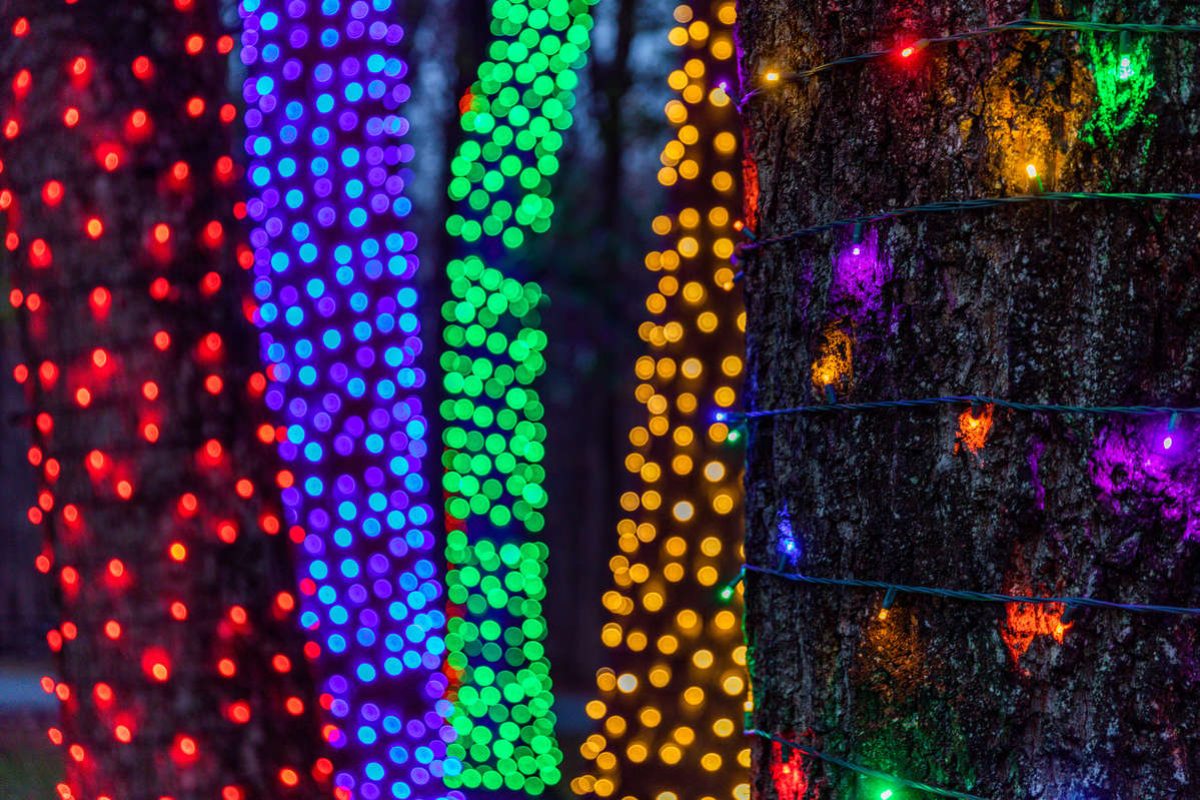
Aperture (f-stop): A wider aperture (lower f-number, e.g., f/2.8, f/4) will blur the background, creating a bokeh effect – those pleasing, out-of-focus circles of light that characterize many Christmas light photos. A narrower aperture (higher f-number, e.g., f/8, f/11) will keep more of the scene in focus, useful for capturing details in a wider area. Experiment to find the balance that best suits your composition.
-
Shutter Speed: This determines how long the camera’s sensor is exposed to light. For sharp images of static lights, a faster shutter speed (e.g., 1/60th of a second or faster) is usually necessary. However, for creating light trails or a sense of motion, a slower shutter speed (e.g., several seconds) can be used (this will require a tripod).
-
ISO: This setting controls the camera’s sensitivity to light. Lower ISO values (e.g., ISO 100, ISO 200) produce less noise (grain) but require more light. Higher ISO values (e.g., ISO 800, ISO 1600) are useful in low-light conditions but can introduce more noise. Strive for the lowest ISO possible while maintaining a suitable exposure.
-
White Balance: Accurate white balance ensures the colors in your photos are true to life. Experiment with different white balance settings (e.g., Daylight, Tungsten, Shade) to find the best representation of the Christmas lights and the surrounding environment. Shooting in RAW format allows for greater flexibility in adjusting white balance during post-processing.
-
Focusing: Autofocus can struggle in low-light conditions. Consider using manual focus or selecting a specific autofocus point on a brightly lit area. For images with a shallow depth of field (blurred background), focus on the brightest light source in your foreground.
-
Tripod: A tripod is invaluable for shooting in low-light conditions, especially when using slower shutter speeds to capture light trails or create a dreamy atmosphere. It eliminates camera shake, resulting in sharper, more detailed images.
-
Remote Shutter Release: Using a remote shutter release or your camera’s self-timer minimizes camera shake, further enhancing image sharpness when working with slow shutter speeds.
III. Creative Techniques: Adding Flair to Your Christmas Light Photography
Beyond the technical aspects, creative techniques can elevate your Christmas light photos:
-
Light Trails: Use a slow shutter speed (several seconds) and a tripod to capture the streaks of light created by moving vehicles or people walking past illuminated displays. Experiment with different shutter speeds to control the length and intensity of the light trails.
-
Bokeh: Embrace the bokeh effect by using a wide aperture and focusing on a specific point in the scene. The out-of-focus lights will create a dreamy, magical atmosphere. Experiment with different lens apertures and distances to achieve varied bokeh effects.
-
Reflections: Utilize reflective surfaces like puddles, windows, and ornaments to add depth and interest to your photos. Reflections can create symmetrical compositions or add a unique perspective to the scene.
-
Silhouettes: Use backlighting from the Christmas lights to create dramatic silhouettes of people, trees, or buildings. This technique can add a sense of mystery and intrigue to your images.
-
Panning: This technique involves following a moving light source (e.g., a car with Christmas lights) with your camera while using a relatively slow shutter speed. The result is a sharp subject against a blurred background, creating a sense of motion.
IV. Post-Processing: Enhancing Your Images
Post-processing can significantly enhance your Christmas light photographs. Software like Adobe Lightroom or Photoshop allows you to:
-
Adjust Exposure and Contrast: Fine-tune the brightness and contrast to optimize the overall look of your images.
-
Enhance Colors: Adjust saturation and vibrancy to make the colors of the lights more vibrant and appealing.
-
Reduce Noise: Minimize noise (grain) introduced at higher ISO settings.
-
Sharpen Images: Increase sharpness to improve detail and clarity.
-
Add Vignettes: Darken the corners of your photos to draw attention to the central subject.
-
Creative Effects: Experiment with various filters and effects to create unique artistic styles.
V. Conclusion: Sharing Your Festive Creations
By combining careful planning, technical expertise, and creative techniques, you can capture truly stunning photographs of Christmas lights in 2024. Remember to experiment, be patient, and have fun! Share your creations with friends, family, and the world through social media or online galleries. Your festive photographs will not only capture the beauty of the season but also serve as lasting memories of the holidays. Don’t be afraid to try new things, break the rules, and let your creativity shine through. The magic of Christmas lights awaits your lens!


Closure
Thus, we hope this article has provided valuable insights into Illuminating the Holidays: A Comprehensive Guide to Photographing Christmas Lights in 2024. We hope you find this article informative and beneficial. See you in our next article!