Mastering The Art Of Christmas Ribbon Tying: A Comprehensive Guide For 2024
Mastering the Art of Christmas Ribbon Tying: A Comprehensive Guide for 2024
Mastering the Art of Christmas Ribbon Tying: A Comprehensive Guide for 2024
Introduction
In this auspicious occasion, we are delighted to delve into the intriguing topic related to Mastering the Art of Christmas Ribbon Tying: A Comprehensive Guide for 2024. Let’s weave interesting information and offer fresh perspectives to the readers.
Table of Content
Mastering the Art of Christmas Ribbon Tying: A Comprehensive Guide for 2024
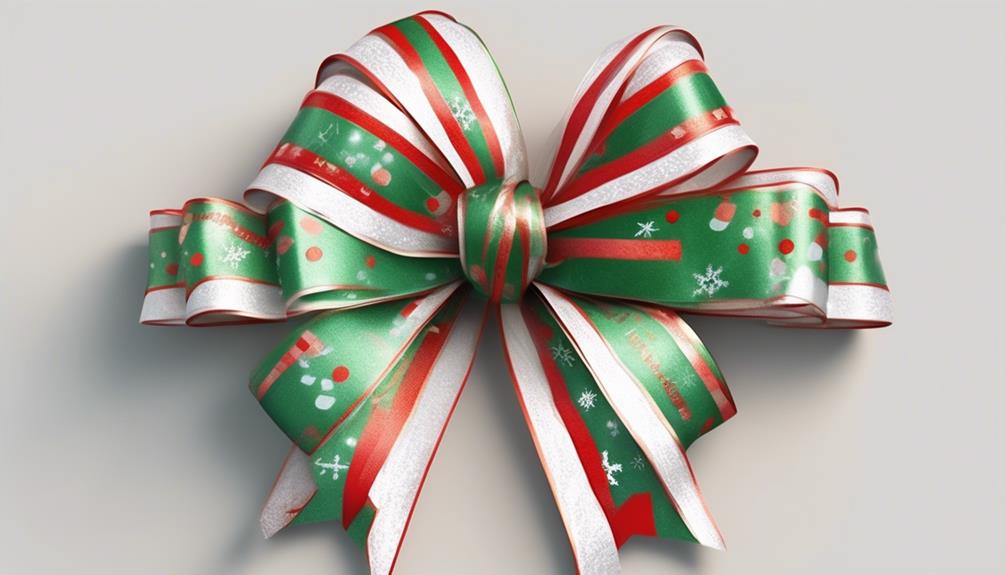
Christmas is a time for celebration, family, and of course, beautiful decorations. And what better way to elevate your festive displays than with elegantly tied Christmas ribbon? Whether you’re adorning your tree, wrapping gifts, or crafting festive garlands, the right ribbon and the perfect bow can transform your décor from simple to spectacular. This comprehensive guide will explore various techniques for tying Christmas ribbon, from simple bows to intricate designs, ensuring your 2024 Christmas is beautifully ribboned.
Part 1: Choosing the Right Ribbon
Before diving into the knots and bows, selecting the appropriate ribbon is crucial. The type of ribbon you choose significantly impacts the final look and the ease of tying. Consider these factors:
-
Material: Ribbons come in a vast array of materials, each with its own characteristics:
- Satin: Luxurious and shiny, satin ribbons drape beautifully and create elegant bows. However, they can be slippery and require a bit more practice to tie neatly.
- Velvet: Rich and plush, velvet ribbons add a touch of opulence. Their texture can make them slightly more challenging to work with, but the result is well worth the effort.
- Wire-edged: These ribbons hold their shape exceptionally well, making them ideal for creating structured bows and intricate designs. The wire edge provides support and prevents the ribbon from flopping.
- Grosgrain: A sturdy and textured ribbon, grosgrain is easy to work with and holds its shape nicely. It comes in a wide range of colours and patterns.
- Burlap: A rustic and natural choice, burlap ribbon adds a charming, homespun feel to your decorations.
-
Width: The width of the ribbon significantly affects the size and appearance of your bow. Wider ribbons create larger, more dramatic bows, while narrower ribbons are suitable for delicate accents. Experiment with different widths to find what best suits your style and project.
-
Colour and Pattern: Choose colours and patterns that complement your overall Christmas theme. Classic red and green are always a popular choice, but don’t be afraid to experiment with other colours, metallics, or festive prints.
-
Length: Always cut your ribbon longer than you think you need. It’s easier to trim excess ribbon than to start over with a piece that’s too short. A good rule of thumb is to cut at least twice the desired length of the finished bow.
Part 2: Basic Ribbon Tying Techniques
Once you’ve selected your ribbon, it’s time to learn some fundamental tying techniques:
-
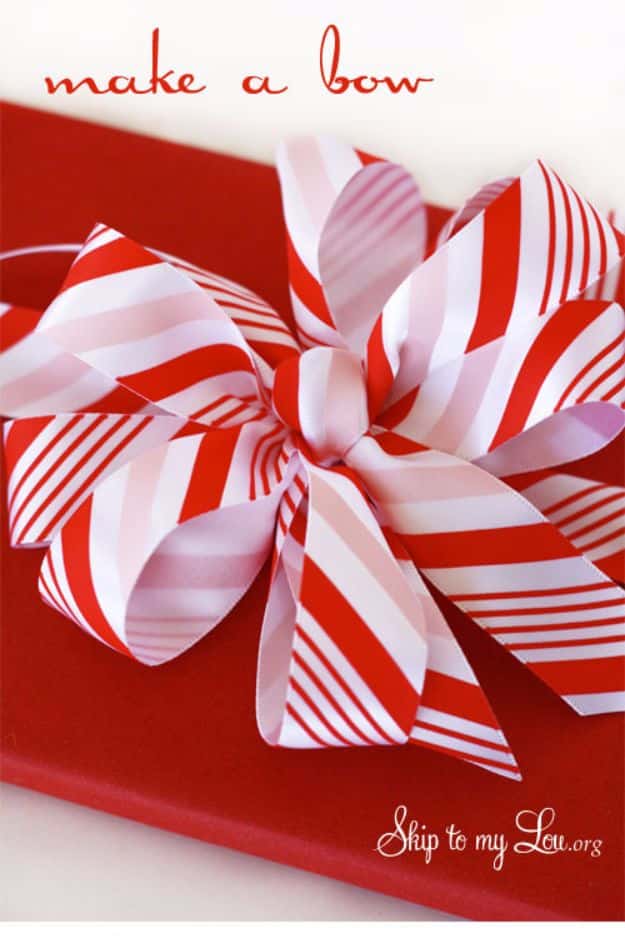
The Simple Bow: This is the foundation for many more elaborate bows. Simply make a loop, cross it with another loop, and tie a knot in the middle. Adjust the loops for size and symmetry.
-
The Double Loop Bow: Create two loops of equal size, cross them, and then tie a knot in the middle. This bow is slightly more voluminous than the simple bow.
-
The Overhand Knot: This is a simple knot used to secure the ends of the ribbon or to create a base for more complex bows. Simply cross the two ends of the ribbon and pull them through the loop.
-
The Square Knot: This knot is stronger and more secure than the overhand knot. It involves tying two overhand knots in succession.
Part 3: Advanced Ribbon Tying Techniques
With the basics mastered, let’s explore more sophisticated techniques:
-
The Layered Bow: This elegant bow involves layering multiple loops of ribbon on top of each other to create a fuller, more luxurious look. Start with a base layer of larger loops and gradually add smaller loops on top.
-
The Cascading Bow: This dramatic bow features loops that cascade down, creating a flowing, waterfall effect. This technique is particularly effective with wider ribbons.
-
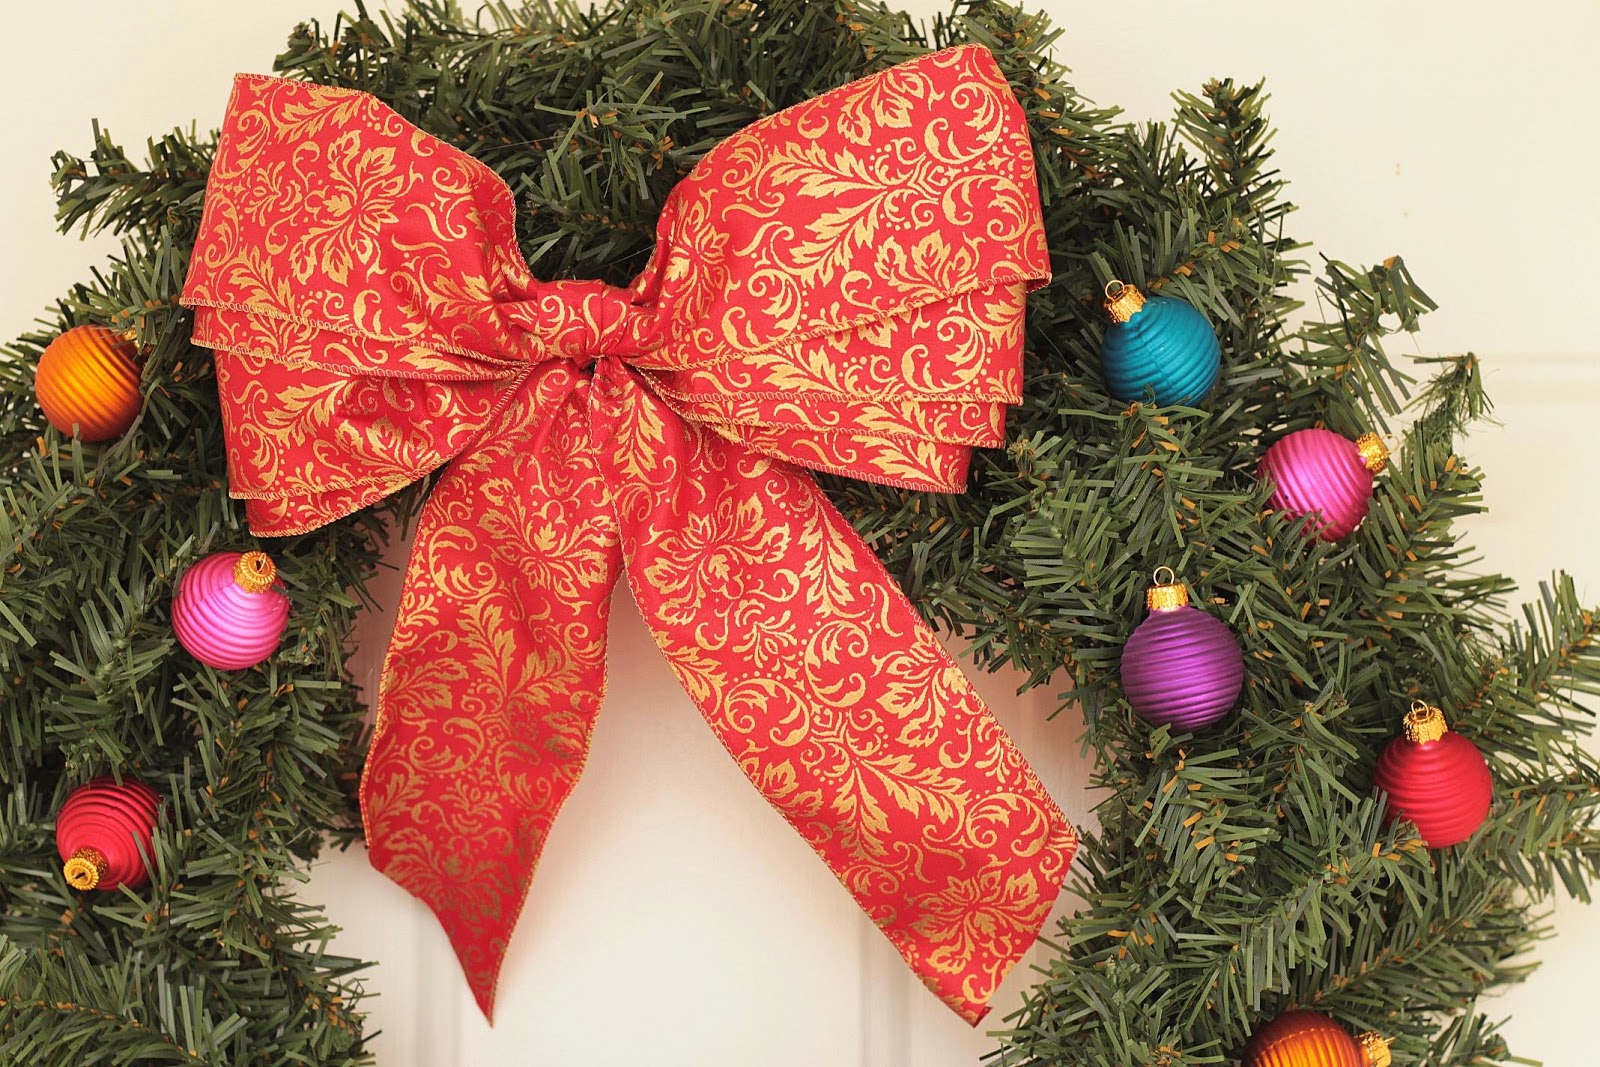
The Bow with Tails: Adding tails to your bow adds a touch of elegance and allows for more creative embellishments. Simply leave longer ends of ribbon after tying the bow. You can curl the tails with scissors or a curling iron for an added touch of sophistication.
-
The Pinwheel Bow: This unique bow involves twisting the ribbon before creating the loops, resulting in a spiral effect. This technique works best with wire-edged ribbons.
-
Creating bows with multiple ribbons: Combine different widths, textures, and colours of ribbon to create a truly unique and eye-catching bow. Experiment with layering and intertwining different ribbons for a visually interesting effect.
Part 4: Embellishing Your Bows
Once you’ve mastered the art of tying, consider adding embellishments to elevate your bows to the next level:
-
Add embellishments: Incorporate decorative elements such as beads, sequins, glitter, small ornaments, or even sprigs of holly to personalize your bows and match your overall Christmas theme.
-
Use floral wire: This allows you to manipulate and shape the ribbon into more intricate designs.
-
Create bows with different shapes: Experiment with creating heart-shaped bows, star-shaped bows, or other creative shapes.
Part 5: Applying Your Bows
The final step is to secure your beautifully tied bows to your chosen surface:
-
Using hot glue: This is a quick and effective method for securing bows to various surfaces, including gift wrap, wreaths, and Christmas trees.
-
Using ribbon wire: This provides a more elegant and less messy way to secure bows, particularly on delicate items.
-
Using pins or clips: These are useful for temporarily attaching bows or for projects where you might need to remove and reposition the bow.
Part 6: Troubleshooting Common Ribbon Tying Problems
Even experienced crafters encounter challenges. Here are some common problems and their solutions:
-
Uneven loops: Practice makes perfect! Try using a ruler or template to ensure your loops are consistent in size.
-
Slippery ribbon: Use a small amount of hairspray or fabric glue to help the ribbon hold its shape.
-
Knots that won’t tighten: Make sure you’re pulling the ribbon taut as you tie the knot.
-
Ribbon fraying: Use fabric glue or fray check to prevent the ribbon from unraveling.
Conclusion:
Mastering the art of Christmas ribbon tying is a rewarding skill that adds a touch of elegance and festive cheer to your holiday celebrations. By experimenting with different techniques, materials, and embellishments, you can create unique and stunning bows that will impress your family and friends. So, gather your ribbons, embrace your creativity, and let your festive spirit shine through your beautifully tied bows this Christmas 2024! Remember to practice, have fun, and enjoy the process of creating beautiful, personalized decorations. Happy tying!


Closure
Thus, we hope this article has provided valuable insights into Mastering the Art of Christmas Ribbon Tying: A Comprehensive Guide for 2024. We thank you for taking the time to read this article. See you in our next article!