Mastering The Art Of The Christmas Tree Drawing: A 2024 Guide
Mastering the Art of the Christmas Tree Drawing: A 2024 Guide
Mastering the Art of the Christmas Tree Drawing: A 2024 Guide
Introduction
With great pleasure, we will explore the intriguing topic related to Mastering the Art of the Christmas Tree Drawing: A 2024 Guide. Let’s weave interesting information and offer fresh perspectives to the readers.
Table of Content
Mastering the Art of the Christmas Tree Drawing: A 2024 Guide
Christmas is a time for joy, family, and festive decorations. And what better way to capture the spirit of the season than by creating your own unique Christmas tree drawing? Whether you’re a seasoned artist or a complete beginner, this comprehensive guide will walk you through various techniques and styles to help you craft a stunning Christmas tree artwork for 2024.
I. Planning Your Masterpiece: Choosing a Style and Medium
Before you even pick up your pencil, it’s crucial to plan your masterpiece. Consider these factors:
-
Style: Do you want a realistic, photorealistic, cartoonish, minimalist, abstract, or perhaps even a whimsical, surreal Christmas tree? Each style requires different techniques and approaches. A realistic tree will involve detailed branch structures and needle rendering, while a minimalist design might focus on simple shapes and lines. Think about the overall mood and message you want to convey.
-
Medium: The medium you choose significantly impacts the final look and feel of your drawing. Common choices include:
- Pencil: Offers versatility and allows for easy corrections. Experiment with different pencil grades (e.g., 2H for light sketching, 2B for darker shading) to achieve varying levels of detail and tone.
- Pen and Ink: Creates bold, crisp lines and is ideal for detailed line art or stylized illustrations. Experiment with different pen nibs for varied line weights.
- Charcoal: Provides rich, dark tones and is excellent for creating dramatic effects and textures.
- Colored Pencils: Allow for a wide range of colors and subtle shading, perfect for creating vibrant and detailed Christmas trees.
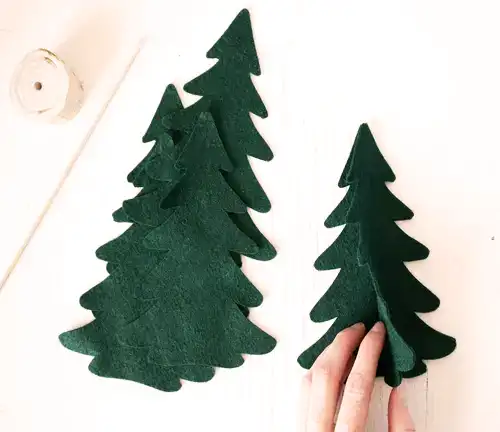
- Watercolors: Offer a fluid and expressive approach, ideal for capturing the soft textures of a snowy Christmas tree.
- Digital Art: Using software like Photoshop or Procreate allows for immense flexibility, experimentation with different brushes, and easy corrections.
-
Composition: How will your Christmas tree be positioned on the page? Will it be centrally located, off-center, or part of a larger composition (e.g., a Christmas scene)? Consider the rule of thirds to create a visually appealing arrangement.
-
Details: What kind of decorations will your tree have? Ornaments, lights, garland, a star on top? Think about the level of detail you want to include. Overly detailed decorations can sometimes detract from the overall impact of the tree itself.
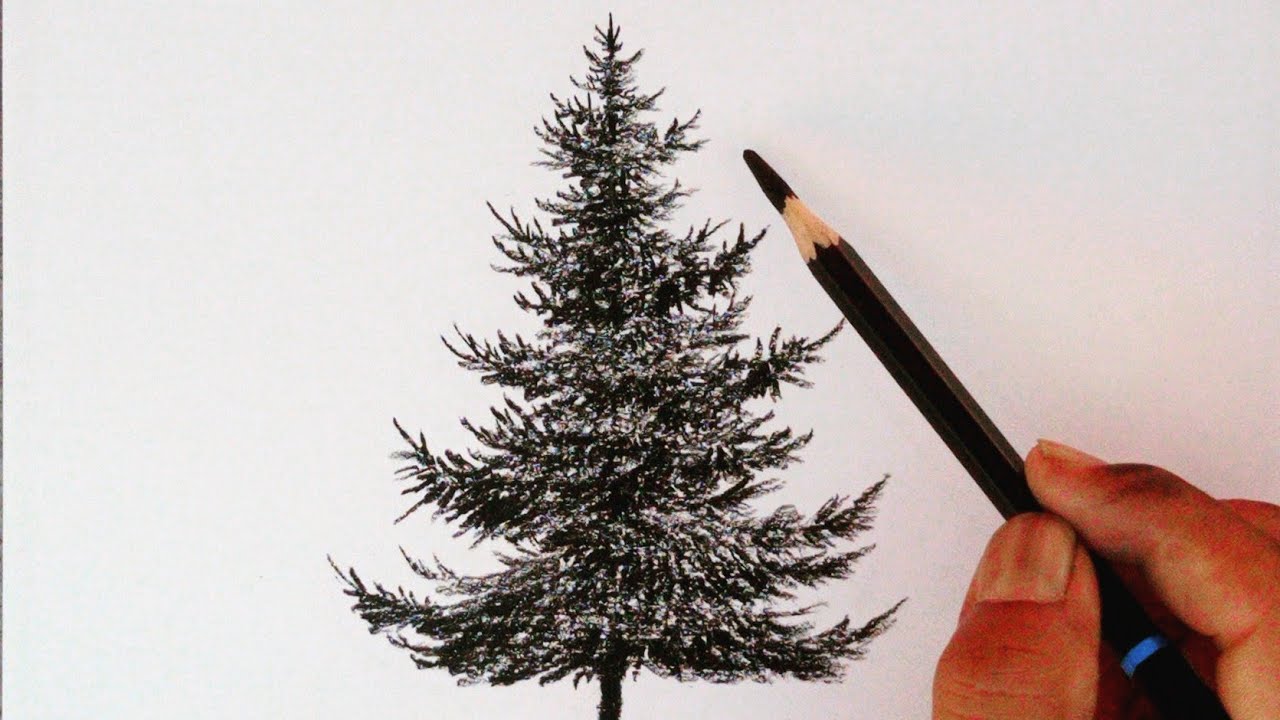
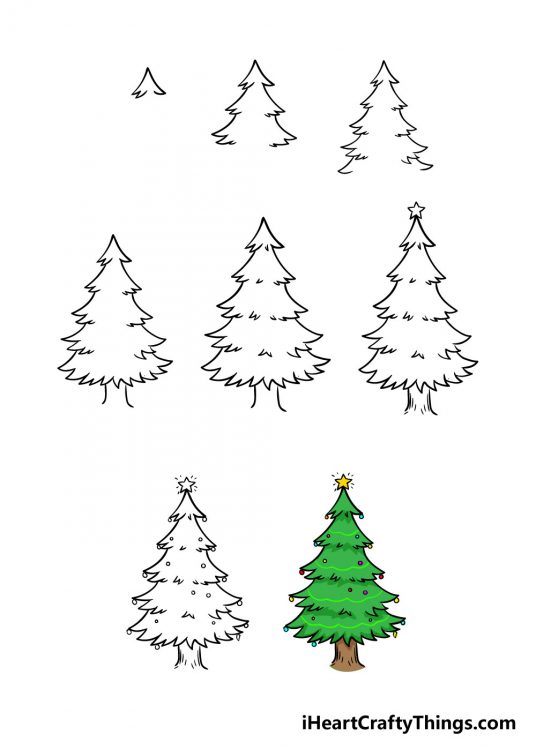
II. Step-by-Step Guide: Creating a Realistic Christmas Tree
Let’s delve into creating a realistic Christmas tree using pencil as our medium.
Step 1: Sketching the Basic Shape:
Start with a light pencil sketch (e.g., 2H). Begin by drawing a central vertical line to represent the trunk. Then, sketch a triangle or an irregular cone shape around the trunk to form the basic outline of the tree. Remember, real Christmas trees aren’t perfectly symmetrical; embrace the natural imperfections.
Step 2: Adding Branches:
Divide the triangle into sections. Within each section, sketch smaller, slightly overlapping triangles or irregular shapes to represent the branches. Vary the size and angle of the branches to create a natural look. Don’t be afraid to erase and redraw until you’re satisfied with the overall branch structure.
Step 3: Defining the Needles:
This is where the detail work begins. Instead of drawing individual needles, suggest their presence by creating small clusters of short, slightly curved lines within each branch. Vary the density of these lines to create depth and texture. Use a slightly darker pencil (e.g., HB or 2B) for this step.
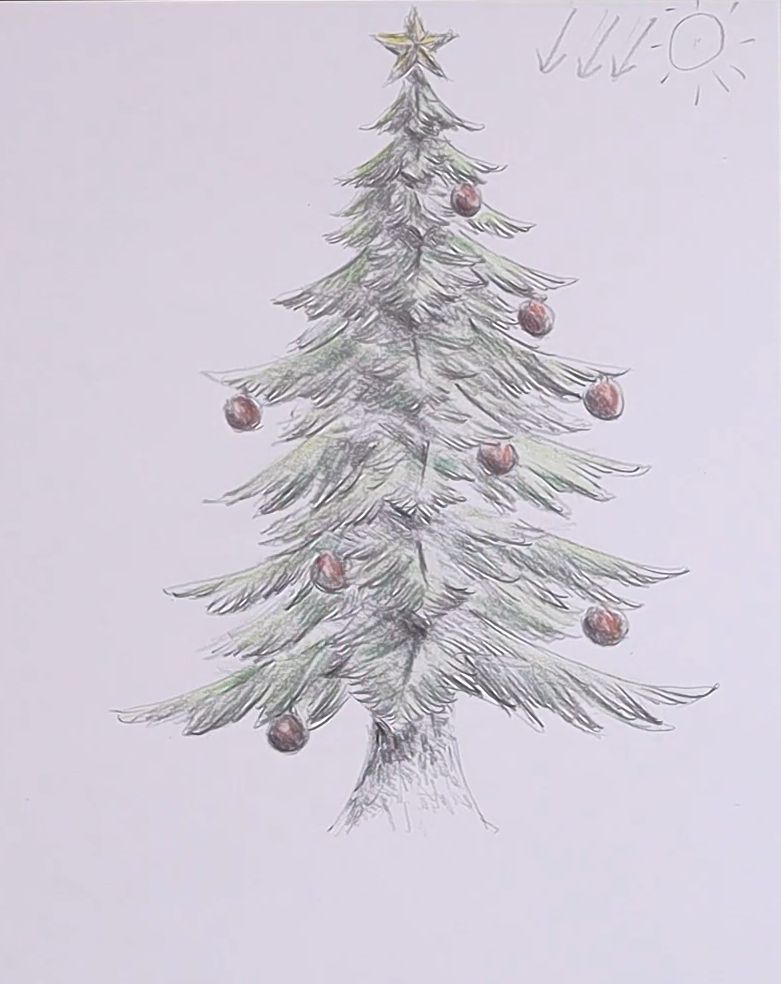
Step 4: Adding Shadows and Highlights:
Use shading to create a three-dimensional effect. Identify the light source and apply darker shading to the areas that would be in shadow. Leave areas facing the light source lighter to create highlights. Blend the shading smoothly using a blending stump or your finger to achieve a realistic look.
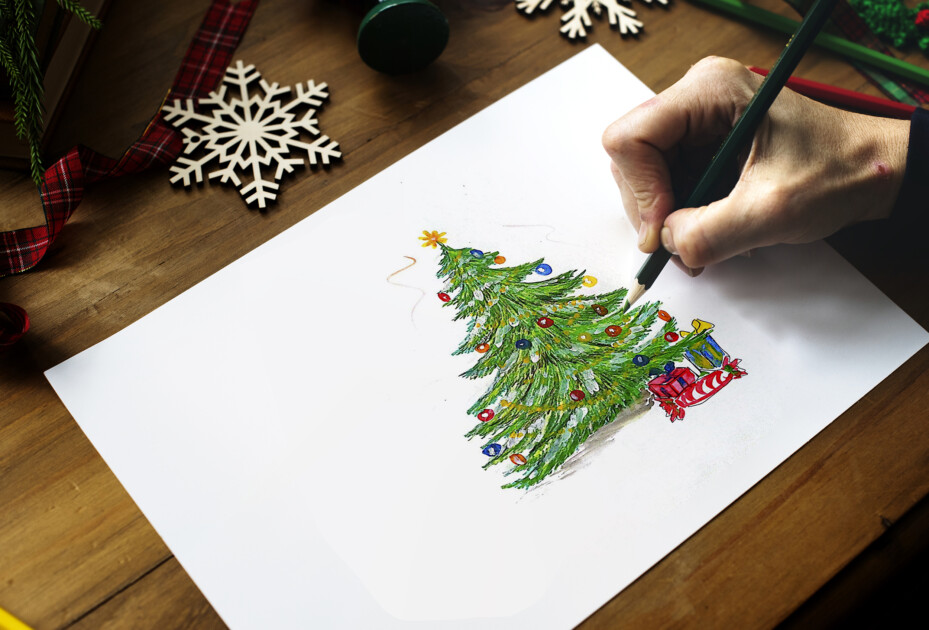
Step 5: Adding Decorations:
Once the tree is complete, add your decorations. Use a lighter pencil to sketch the outlines of ornaments, lights, and garland. Then, use shading and highlights to give them volume and realism. You can also add texture to the decorations to make them look more realistic.
Step 6: Refining and Detailing:
Review your drawing and make any necessary adjustments. Add more detail to the branches, refine the shading, and ensure the overall composition is balanced. You can use an eraser to lift highlights or a darker pencil to deepen shadows.
III. Exploring Different Styles:
A. Cartoonish Christmas Tree:
Simplify the shapes. Use bold, simple lines and exaggerated features. Add whimsical details like oversized ornaments or funny characters hanging from the branches.
B. Minimalist Christmas Tree:
Focus on essential shapes and lines. Use a limited color palette and avoid excessive detail. A simple triangle with a few strategically placed lines can create a striking minimalist Christmas tree.
C. Abstract Christmas Tree:
Experiment with color, texture, and shape. Don’t adhere to realistic representations. Focus on evoking the feeling of a Christmas tree through abstract forms and colors.
D. Geometric Christmas Tree:
Use geometric shapes (squares, circles, triangles) to create a unique and modern Christmas tree. Experiment with different patterns and textures within the geometric shapes.
IV. Tips for Success:
- Practice makes perfect: Don’t be discouraged if your first attempt isn’t perfect. Keep practicing and experimenting with different techniques.
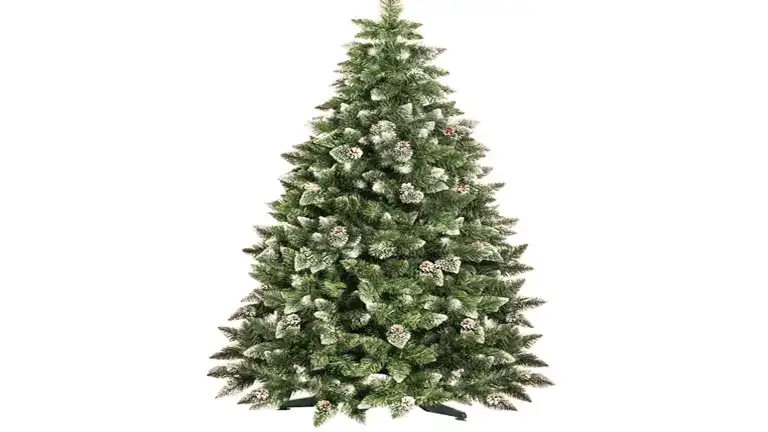
- Use references: Look at photos of real Christmas trees for inspiration. Pay attention to the shape, branch structure, and texture of the needles.
- Don’t be afraid to experiment: Try different mediums, styles, and techniques. The most important thing is to have fun and express your creativity.
- Take your time: Don’t rush the process. Allow yourself plenty of time to complete your drawing.
- Be patient: Creating a detailed drawing takes time and patience. Don’t get discouraged if you make mistakes. Just keep practicing and refining your skills.
V. Conclusion:
Creating a Christmas tree drawing is a rewarding experience that allows you to express your creativity and capture the festive spirit of the season. By following these steps and experimenting with different styles and techniques, you can create a unique and memorable Christmas tree artwork for 2024 and beyond. So grab your pencils, brushes, or digital stylus, and let your imagination run wild! Happy drawing!


Closure
Thus, we hope this article has provided valuable insights into Mastering the Art of the Christmas Tree Drawing: A 2024 Guide. We appreciate your attention to our article. See you in our next article!